The Bissell CrossWave Leaking from Bottom Tank error on Bissell Multi-Surface Cleaners is caused by a faulty clean water tank cap, a damaged rubber gasket, or hairline cracks in the tank body itself. This issue often results in water pooling beneath the machine during or after use, which can damage your floors if left unaddressed.
Identifying the exact source of the leak is the first step toward a permanent Bissell CrossWave Leaking from Bottom Tank fix. Most leaks originate from the clean water tank assembly, but excessive foam from non-approved detergents can also cause liquid to escape through the side vents.
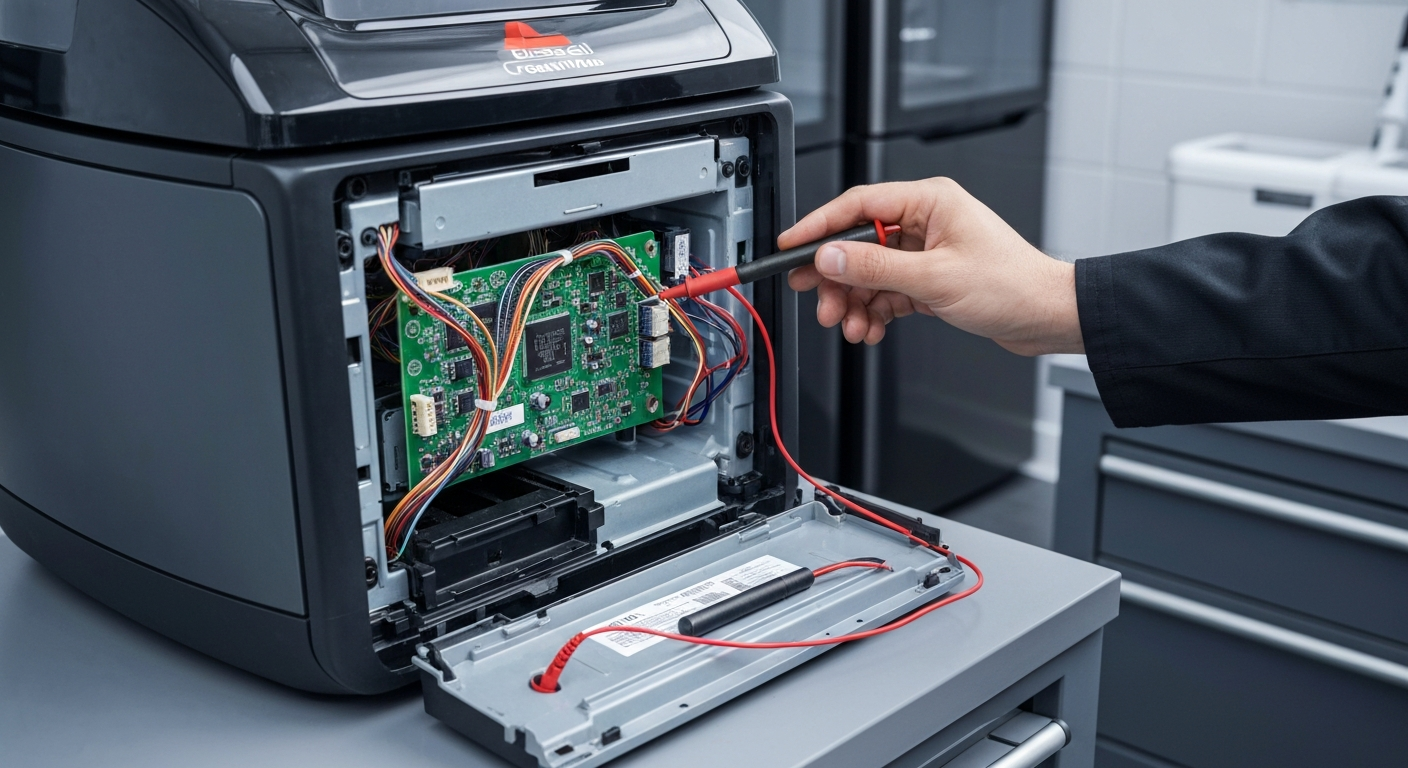
Troubleshooting the Bissell CrossWave Leaking from Bottom Tank
If you are experiencing other performance issues, check our comprehensive guide on Bissell CrossWave error codes for more troubleshooting tips. Understanding the common failure points will save you time and prevent unnecessary part replacements.
Common Causes of Bottom Leaks
The most frequent culprit is the clean water tank cap and its internal valve. Over time, the rubber seal can harden or become misaligned, preventing a watertight seal when the tank is docked into the machine.
Another common cause is the use of generic cleaning solutions. These often create too much foam, which bypasses the float system in the dirty water tank and leaks out of the motor vents at the bottom.
Finally, physical damage such as hairline cracks in the plastic tank can occur if the machine is dropped or stored in freezing temperatures. Even a microscopic crack can lead to a persistent drip that looks like a major mechanical failure.
Step-by-Step Repair Guide
Follow this structured approach to diagnose and resolve the leaking issue. Most of these steps do not require specialized tools and can be completed in under 15 minutes.
| Step | Action | Tools Needed |
|---|---|---|
| 1 | Inspect the clean water tank and cap for visible cracks or gasket wear. | None |
| 2 | Clean the tank valve and ensure the rubber seal is seated flat. | Warm Water |
| 3 | Empty the dirty water tank and clean the brush window of debris. | Microfiber Cloth |
| 4 | Reassemble all parts firmly and run a 15-second spray test. | None |
For those dealing with a loss of suction alongside the leak, see our Bissell vacuum no suction fix guide to ensure your machine is operating at peak efficiency. Proper maintenance of the seals is critical for both suction and leak prevention.
Recommended Replacement Parts
Disclaimer: This section contains affiliate links. We may earn a commission at no extra cost to you.
If the leak persists after cleaning the seals, the plastic components may have reached the end of their lifespan. Replacing the entire tank assembly is often more cost-effective than attempting to patch a crack with adhesive.
We recommend using only genuine Bissell replacement tanks and caps to ensure a perfect fit. Third-party parts often have slight dimensional variances that can lead to continued leaking or poor water flow during the cleaning cycle.
FAQ
Why is my Bissell CrossWave leaking water from the bottom when turned off?
This usually indicates that the clean water tank valve is not closing properly. Gravity pulls the water down through the docking port, so check the cap’s spring-loaded valve for debris or mineral buildup.
Can using the wrong soap cause my CrossWave to leak?
Yes, non-foaming formula is required for these machines. Standard dish soap or floor cleaners create excessive suds that overflow the internal chambers and leak out of the bottom air vents.
How do I know if my water tank is cracked?
Fill the tank with water, dry the outside completely, and place it on a paper towel for 10 minutes. If the towel becomes wet away from the cap area, you have a hairline crack in the tank body.