Understanding the Shark Robot Vacuum Error 9 Dust Bin Sensor Fix
Dealing with a Shark Robot Vacuum Error 9 Dust Bin Sensor Fix can be frustrating when your vacuum refuses to start. This specific error code indicates that the robot cannot detect the dust bin, even if it appears to be physically attached.
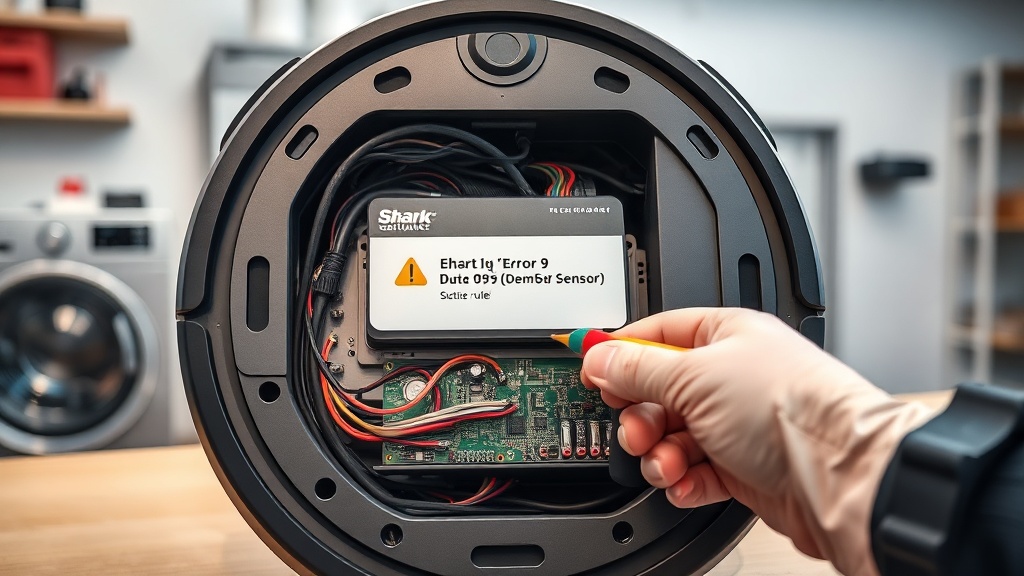
The primary cause is a faulty connection between the dust bin and the main chassis. Inside the unit, there are female electrical pins and a small mechanical lever that triggers the sensor.
Dust, hair, or debris often build up around these pins, preventing a clean signal. In some cases, the plastic tab on the bin wears down, failing to press the sensor switch deep enough.
Step-by-Step Troubleshooting Guide
Follow these professional steps to resolve the detection issue. Most users can fix this problem in under ten minutes without specialized tools.
| Step | Action | Tools Needed |
|---|---|---|
| 1 | Remove the dust bin completely from the vacuum body. | None |
| 2 | Locate the female electrical pins and the small sensor lever inside the bin cavity. | Flashlight |
| 3 | Clean the pins and the sensor area to remove dust and hair. | Cotton swab, Rubbing alcohol |
| 4 | Manually press the sensor switch to ensure it moves freely and clicks. | Finger or small screwdriver |
| 5 | Reinsert the bin firmly until you hear a distinct click sound. | None |
[IMAGE_PLACEHOLDER]
Expert Tips for Persistent Error 9 Issues
If a basic cleaning does not solve the problem, you may need to improve the electrical conductivity. Using a specialized contact cleaner like BW-100 can help restore the connection on the internal pins.
Another common issue is physical wear on the dust bin’s plastic tab. If the tab is worn down, it won’t trigger the sensor switch properly.
You can fix this by applying one or two layers of electrical tape to the tab. This adds just enough thickness to ensure the sensor is fully depressed when the bin is inserted.
Recommended Replacement Parts
Disclaimer: This section contains affiliate links. We may earn a commission at no extra cost to you.
Sometimes the internal sensor or the dust bin itself is physically damaged beyond repair. In these cases, replacing the component is the most cost-effective way to extend the life of your vacuum.
Ensure you check your specific Shark model number before purchasing a replacement bin. Using genuine parts prevents further sensor errors and maintains your manufacturer’s warranty.
FAQ
Why does my Shark vacuum say the bin is removed when it is in?
This is usually caused by debris blocking the sensor or the electrical pins failing to make contact. A quick cleaning of the contact points often resolves the false “removed” status.
Can I bypass the dust bin sensor on a Shark robot?
Bypassing the sensor is not recommended as it can lead to motor damage if the vacuum runs without a bin. It is safer to clean the contacts or use the electrical tape method to fix the engagement.
How do I reset my Shark robot vacuum after an Error 9?
Once the bin is properly detected, the error should clear automatically. If it persists, turn the power switch off for 10 seconds and then back on to reboot the system.